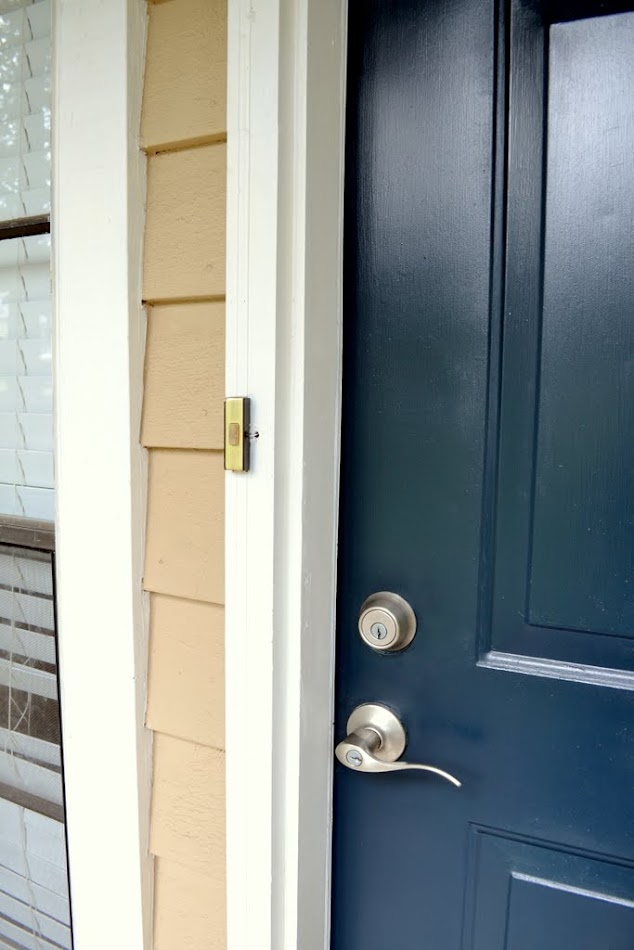
My front door is looking pretty good these days:

There are just a few more things that I need to do… like replace this ugly doorbell.

There are lots of things I hate about it. For one, the doorbell was inexplicably re-mounted to the left of the hole where the wiring comes out (and has been since I moved in). I can see an outline and old hole marks for where the doorbell must have been originally, so I really can’t understand why someone would put it in any other place. Plus, it’s tarnished and clashes with all of the other finishes on the exterior (which have all slowly been replaced with satin nickel finishes, including the house numbers, knocker, porch light, and just recently, the door handle and deadbolt).

For this project, you’ll need:
- screwdriver (flat or Phillips head, whichever works for your screws)
- new doorbell
- paint
- wood filler
- sandpaper
- drill
- spade drill bit (depending on the doorbell style)
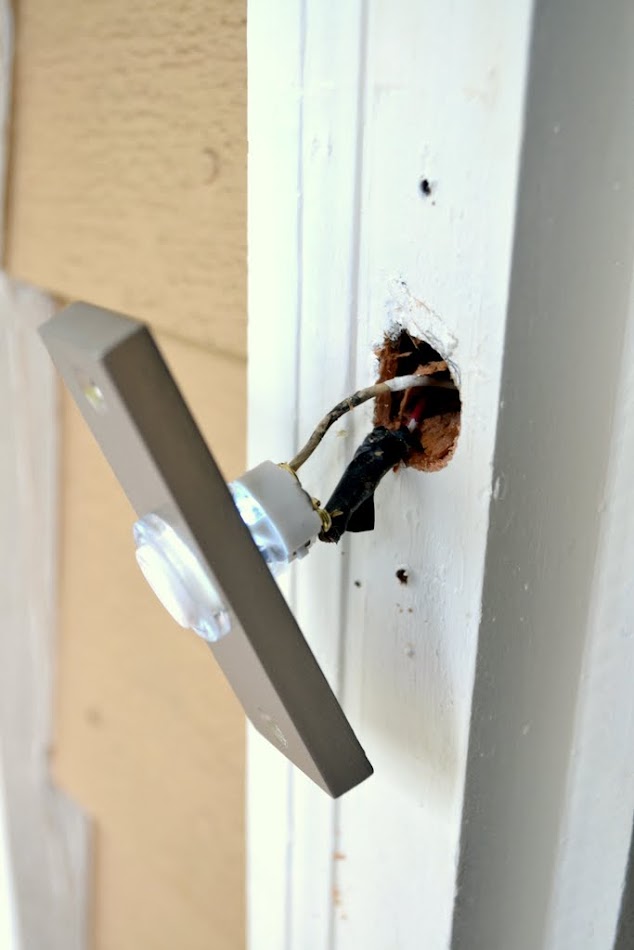
To replace, I first removed the front plate of the doorbell, which unintentionally removed the (nasty old) button as both were held in place by the front piece. I then unscrewed and detached the wires from the back (for safety reasons because the things I do to my house are to my house and you should always do the safe thing even if I don’t, turn the power off, K?).

The new doorbell is nearly the same size, but I needed to first figure out where it was going to go compared to the old. AKA, a smidge to the right.

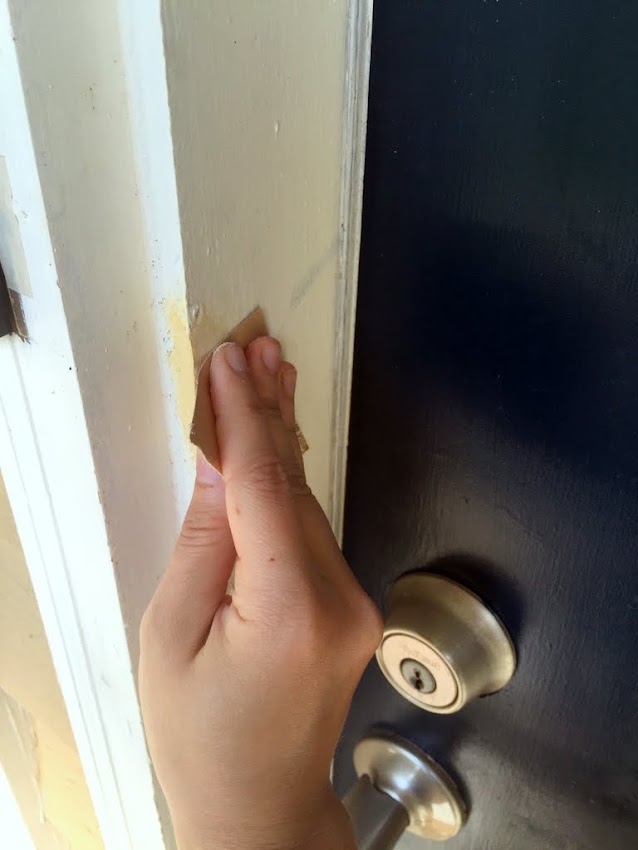
Knowing that I wouldn’t be putting it back in the exact same spot, I needed to patch and paint the screw holes and unpainted area beneath the old plate on the left side of the trim work. You can probably guess where this is going…


It took a couple of coats to cover the dark brown, but it was also a fun reminder of how much lighter the exterior paint is now versus where I started five years ago.

The back of the new doorbell had a much larger area on the back that would need to be recessed into the trim. To achieve this, I first traced out the size of the hole with a pencil. After checking where the wire was threading with a flashlight (so that I could know where the wire was and wasn’t behind the trim), I carefully (!) drilled a larger hole using a spade drill bit sized according to the instructions on the package (5/8″). You can use a hole saw bit if you have one small enough, which makes a cleaner and prettier hole usually, but the spade bit was the first I found in my garage and got the job done (the hole would be covered by the new doorbell anyway, so pretty wasn’t important).

Then, it was a matter of reconnecting the wires, drilling some new holes for the screws, and done!
Before…
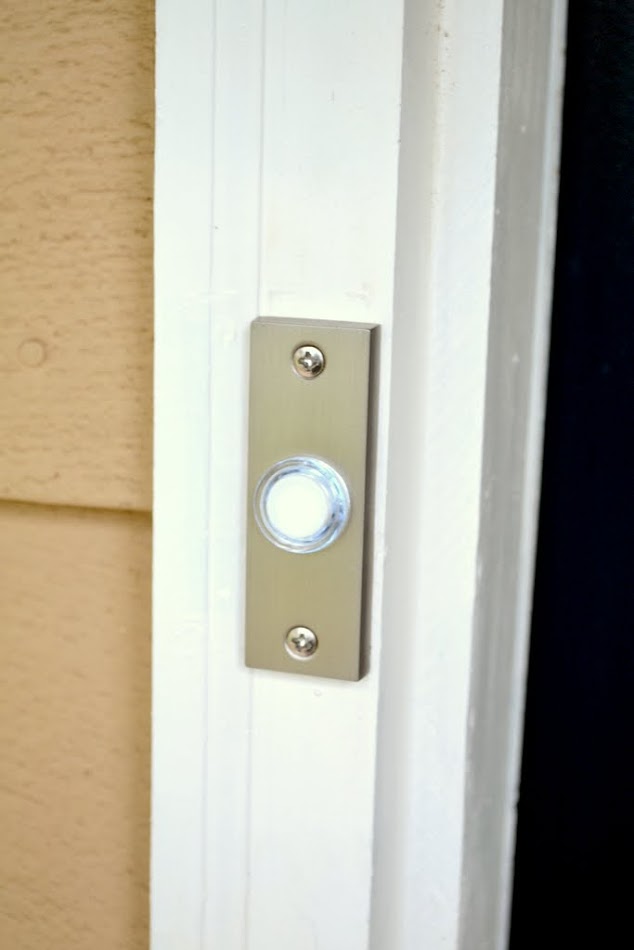
And after!

The button glows, so it’s easy to find at night, too. It’s probably going to make things a lot easier on the pizza guy.

Like most of the things I deal with in an old house, it’s never going to be perfect. But overall, it’s a far cry from where I was several years ago.


Even Danny from Archer is a fan. (Sorry, this clip just makes me giggle.)
(P.S.: Atlanta folks: The YHL book signing is going on in Atlanta tonight, and I plan to be there early. If you see me, please say hi… I’d love to meet you!)
The post Ring My Bell appeared first on The Ugly Duckling House.
Website // Subscribe // Advertise // Twitter // Facebook // Google+