Last week, I mentioned that I was building a number of things, including something organizational for my home office. I’ve finished 2 out of the 4 total that will be installed, but wanted to go ahead and share the modified plans with you for my wood stamp collection display!

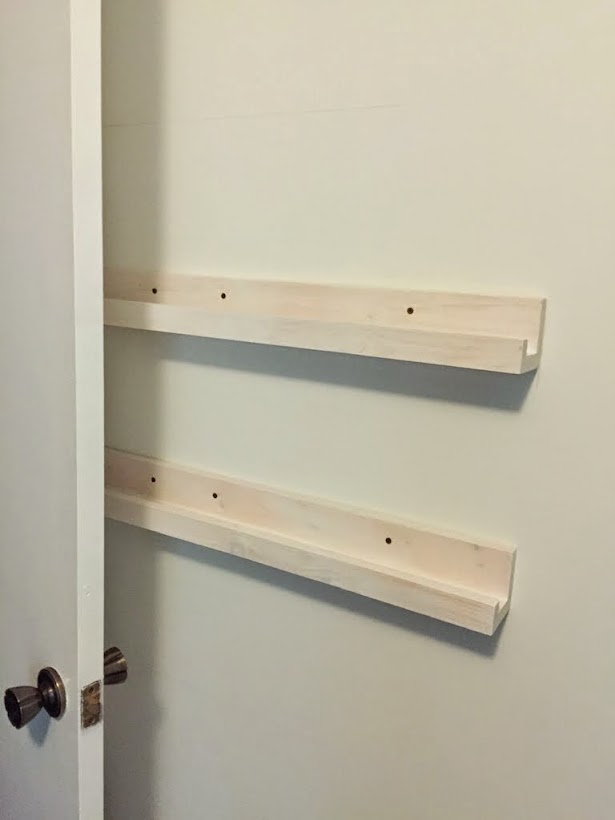
These wood stamp storage plans are heavily based on Ana White’s $10 ledges, but a 1×4 is slightly too wide to fit the narrow space behind the door. Instead, I used 1x3s for the bottom and back of each ledge, which also reduces the cost down even more to around $4-5 per ledge (since I was going to paint them, I chose pine boards that are just slightly nicer quality than furring strips; you can also make these by ripping down some MDF, which will paint nicely too).

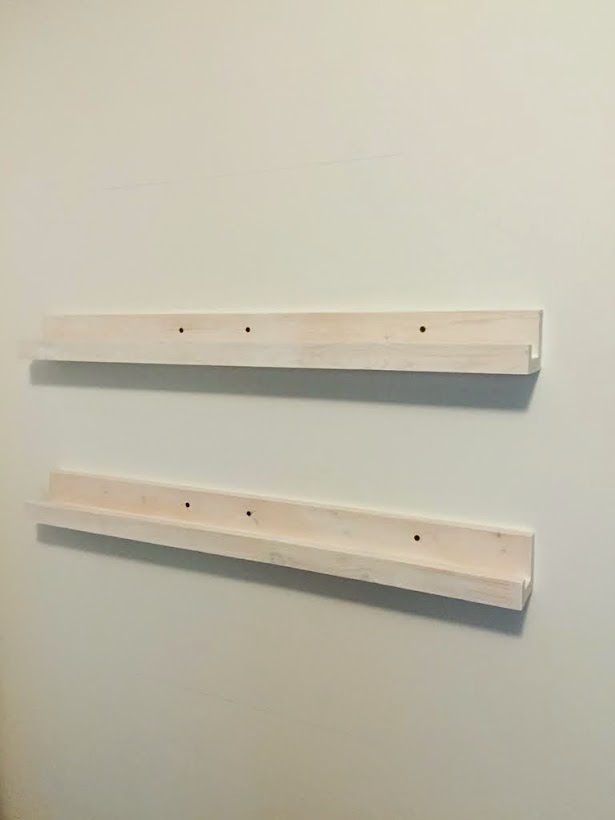
I bought six-foot-long boards and simply cut them in half to make each ledge, then screwed them together in the garage with my Kreg Jig. With some wood glue and my nail gun, I tacked on a piece of 1×2 to the front to use as a lip to keep the stamps from sliding off (most rubber stamp displays do not use a lip, but I’ve found that that’s also how they wind up on the floor).

I primed each shelf before installing, but caulked and painted once they were along the wall.
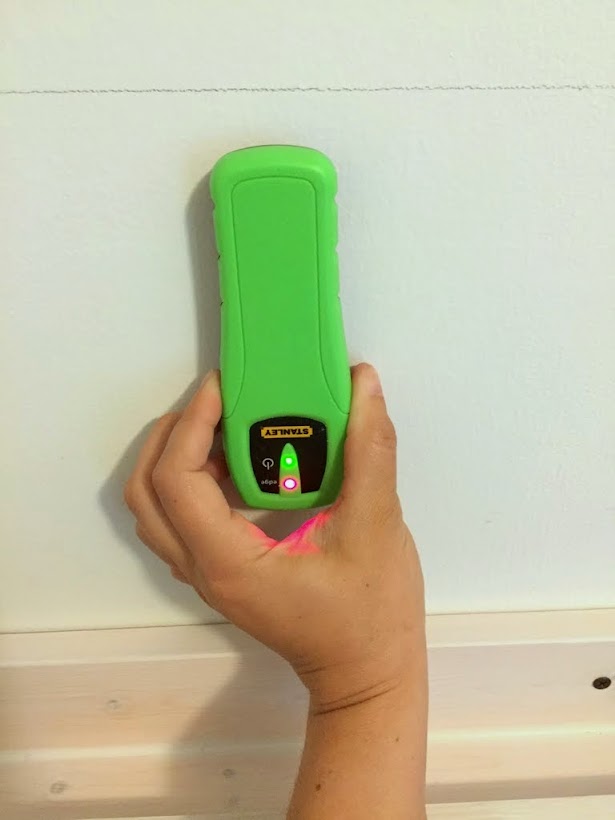
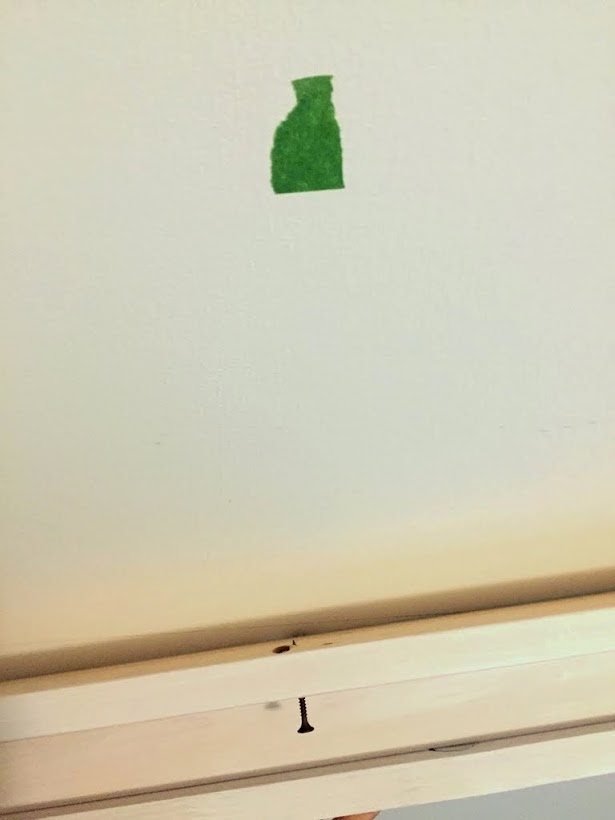
A 3-foot-long ledge can actually be somewhat cumbersome if you’re trying to install it by yourself, so I found that the easiest thing to do was to first find the studs with a stud finder and mark them with painter’s tape…
Then, screw in the first screw into the ledge just enough to allow the screw to poke through by a tiny bit on the other side, which will grab the drywall when pushing against it.
I held the ledge with one hand while using the drill in the other to secure the ledge slightly to the wall. Don’t worry if things get kind of wonky when doing this; if you leave enough wiggle room to straighten things out again, you can use your second screw to make everything level.
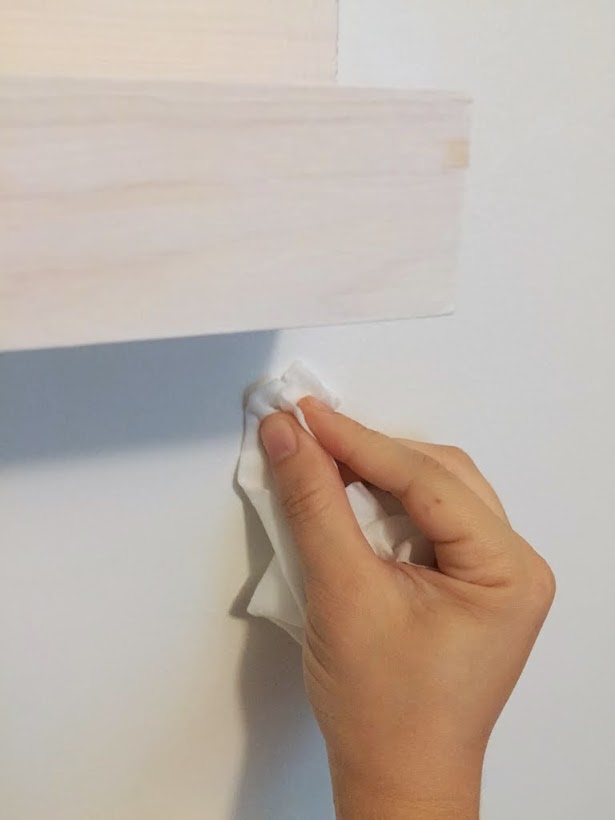
Tip: You’ll likely have a few pencil marks still visible when you’re finished, but I’ve found that an oil-free makeup wipe works as great for getting rid of stray marks as well as it does your eyeliner!
Then caulk, paint, and stock your shelves as needed.
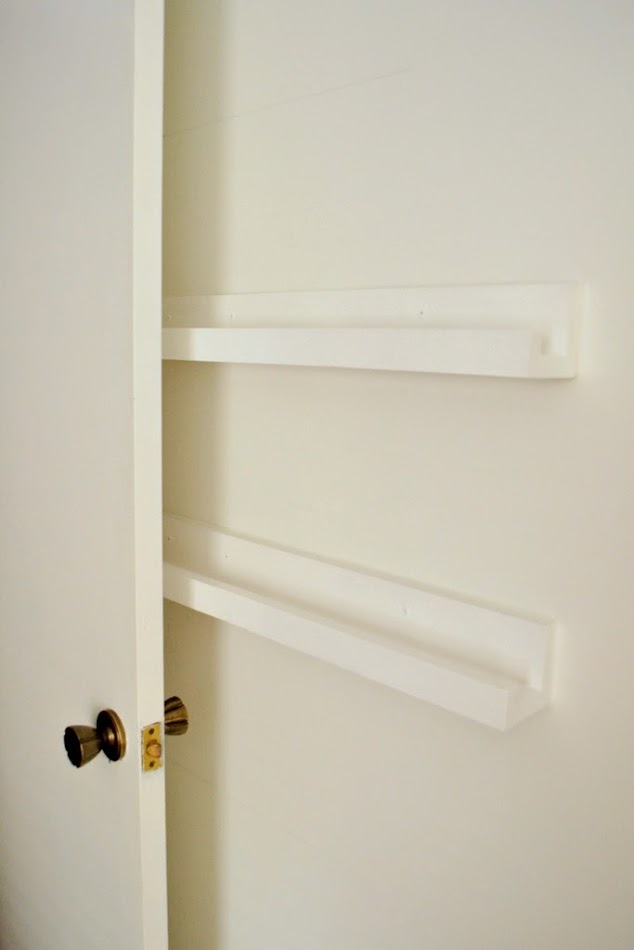
The lip along the backside of the ledge serves as another spot for some of my smaller stamps that would otherwise hide if they were stuck behind the larger ones (and keeping the larger ones in front keeps the entire collection looking more organized).

I have a big box of rubber stamps, many of which are designed to make into wood or paper ornaments with embossing powder. Maybe with these now out of the back of my closet and onto a display shelf, I’ll actually wind up using them more (and when I do later this year, I’ll show you how to make some of those ornaments yourself).

One more piece of organization in the office = one less bit of clutter. There’s plenty more to share with you this week!
The post Utilizing Behind-the-Door Space in the Office for Wood Stamps appeared first on The Ugly Duckling House.
Website // Subscribe // Advertise // Twitter // Facebook // Google+


No comments:
Post a Comment