Despite the good intentions I’ve had to hang art all over this house, I haven’t really gotten around to a lot of it yet. For… oh… basically five years. But, I’m also intent on changing that, and there’s one very important piece of art I wanted to share with you today.

I painted this for my grandmother when I was in middle or high school. She got it professionally framed right around that time, and it’s been hanging in her home (or above her bed in my parents’ home) ever since. For the last few years though, Gran really didn’t hang onto a lot of her possessions. I suppose a lot of that was due to the disease (both hoarding and throwing things away are common in Alzheimer’s patients), but it meant a lot to me that it never disappeared. So when she passed away at the end of April, it was pretty much understood that I would be taking it home to live with me.

It didn’t take long for me to find the perfect spot: the small wall in the blue dining room that leads into the kitchen.
Since only this one painting was going on this wall, I used what I guess I’d call “The 57 Rule”. Basically, the center of the painting should be 57 inches from the ground… which seems to be the consensus online for the perfect painting height. To figure out where the hanger was going to go though, I couldn’t just measure 57 inches from the ground and call it a day; instead, I needed to take the height of the painting itself into consideration. It involves a little bit of math, but it’s very straightforward as you’re doing it.

Step 1
Measure the height of your framed art and divide by 2. This makes the midpoint of the piece which should hang at 57″. In this case, the size of the picture frame turned out to be 23 inches tall, so 23″ / 2 = 11.5 inches.

Step 2
Measure the top of the picture frame to the hanging wire or whatever on the back is used to hang the frame. In my case, I got 4.5 inches. Subtract this from the previous measurement (so 11.5 – 4.5 = 7 inches).
Step 3
Add this number to 57″ and mark on the wall (57 + 7 = 64″). This is the spot to install picture hangers.
If you’re going to hang a group of art, the 57 rule still applies — just use the center of the entire collection for the 57″ mark. Obviously, this means mapping out each piece beforehand to know where the middle is, but this little trick makes it a lot easier to figure out where to start.
Step 4
Hang. I recently heard about these things called Monkey Hooks, which seems like a pretty ingenious little product, so I wanted to share.

Have you ever actually read the steps on some of the simpler products out there? I find it hilarious (if you’ve never seen Brian Regan’s standup routine on Pop-Tarts, now is the perfect time to watch). This particular product had 4, when in reality there’s basically just one:
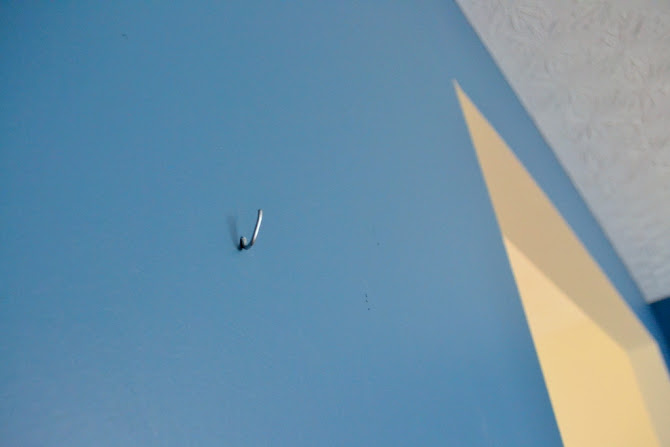
Pierce the drywall with the pointy end of the hook, then twist it around to lock in place.

Boom. Instant picture hook. The majority of the hook hangs behind the drywall and uses no tools, so you can install these just about anywhere in seconds (as long as you avoid hitting a stud).
Crazy easy and awesome. In fact, the only seemingly difficult part was trying to get the hooks out of the package (lots of plastic and cardboard).

Now, a painting that means more than probably any other piece of art I’ll hang in my home has a special place in the dining room. It fits right in, and I absolutely love it! Are there any pieces in your home of special significance?


The post An Easy Way to Hang A Very Important Painting appeared first on The Ugly Duckling House.
Website // Subscribe // Advertise // Twitter // Facebook // Google+


No comments:
Post a Comment