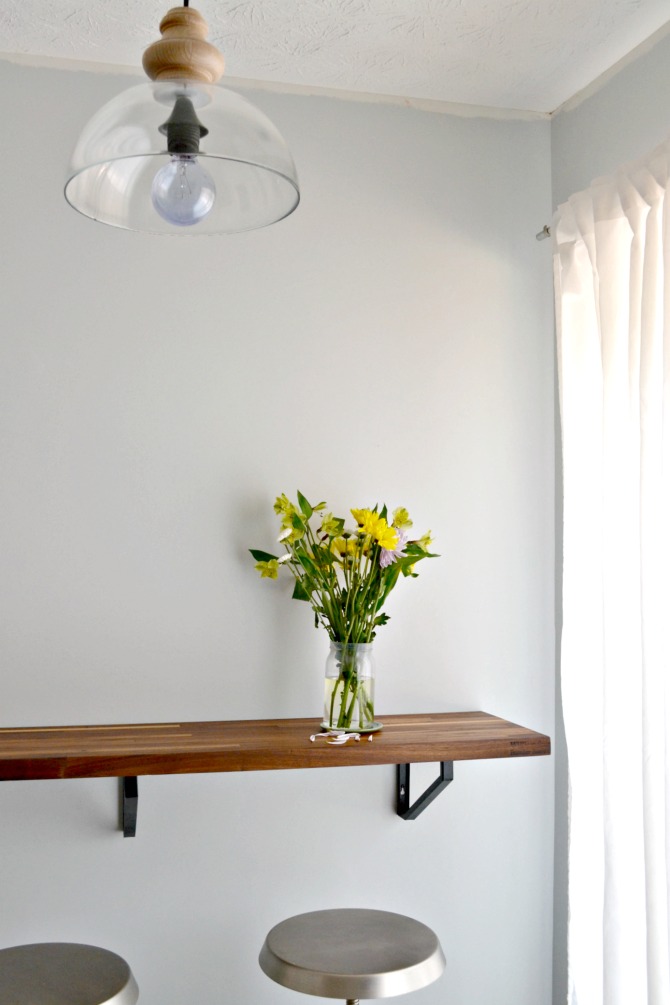
These photos are super soothing. Watching a piece of butcher block - especially walnut, which is what these are - go from bare wood to richly oiled is pretty darn awesome. Wanna see?

In case you missed the last few posts about this area of the house, the gist is that I decided to install a casual bar-slash-shelf thing against the wall (the one that divides the kitchen from the dining room) with a leftover piece of walnut butcher block that I had from my kitchen renovation. I tried in vain to find a picture from waaaaay back in the day for this area so you can see what it really looked like to begin with, but this was the best I could find for now:
Here's the original mock-up I did for the space, which also includes the knock-off light fixture I did earlier this year:
Since I am trying to create a more comfortable eating area just outside of the kitchen and lead guests out to the back yard (which has taking plenty of work this summer in its own right), I don't want there to be a big table in the way that blocks traffic flow from the sliding glass door. So, I took a few Ikea shelf supports I liked, spray painted them black, and screwed them into the studs on the wall (you can also use heavy duty wall anchors if the centering is off). Then, I cut down the remaining piece of walnut that I had in my garage down to about half its width (so roughly 13 inches) and fit it against the wall.
Using finer and finer grits of sandpaper (you want to start with a lower grit like 180 and work your way to 240 and then 320), I sanded down the surface to get it super smooth. I also routed the edges to a slight curve, similar to how I did the rest of the kitchen. Out of curiosity (which you may have seen on Instagram stories a few weeks ago), I tried out a new finish on the underside to seal it and test how the grain looked (General Finishes High Performance), but ultimately, the color wasn't as rich as it was with the mineral oil and beeswax mixture I used for the rest of the kitchen counters. So, I went back to what I know and like to use: Howard Butcher Block Conditioner.
As you can see, the oil really brings out the grain when it soaks in!
For the first few coats, you slather it on and just let it do its thing. I typically apply a thick coat at night and let it soak, then wipe off any excess in the morning. With the first few treatments, there really isn't any left over in the morning, but once you can see it begin to build up, the wood is better protected from damage and moisture (water will start to bead up on the surface instead of soak in). I will have to periodically retreat it the same as I do with the rest of the counters, but the color really stands out once the wood is treated this way. I especially love the color variation at the end closest to the doorway that leads to the dining room:

You'll see a slight gap as I did this so that I didn't wind up slathering thick coats of mineral oil along the painted walls, but I'll be screwing it in soon. It's heavy and not really going anywhere, so there's not much to worry about. :)
I didn't have time to switch lenses to make the room not look wonky when looking at the whole wall, but here's as best I could do for now. It's a great new addition to the kitchen. I still need to add some art, crown, update the sheers, and switch out the outlet so I can put the cover back on, but it's definitely looking more my style than what this area looked like in the listing photo from 2009:
There you have it. Onto the next!
The post Oiling the Kitchen Bar! appeared first on The Ugly Duckling House.
Website // Subscribe // Advertise // Twitter // Facebook // Google+


No comments:
Post a Comment